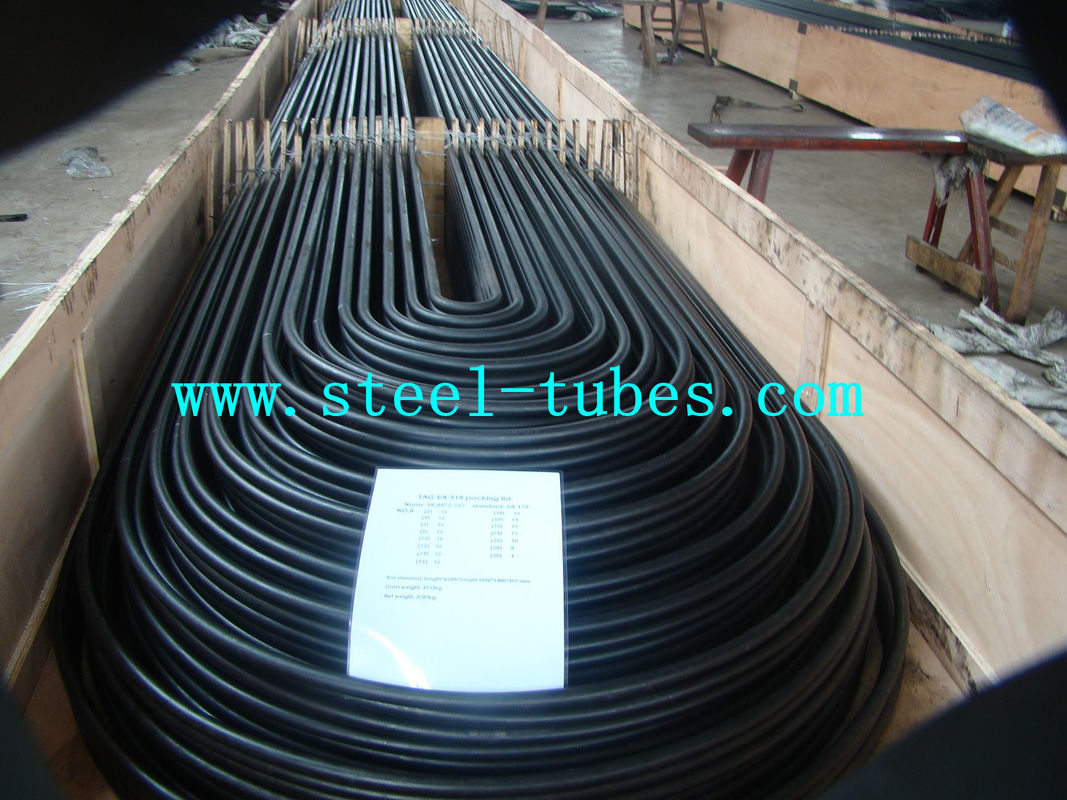
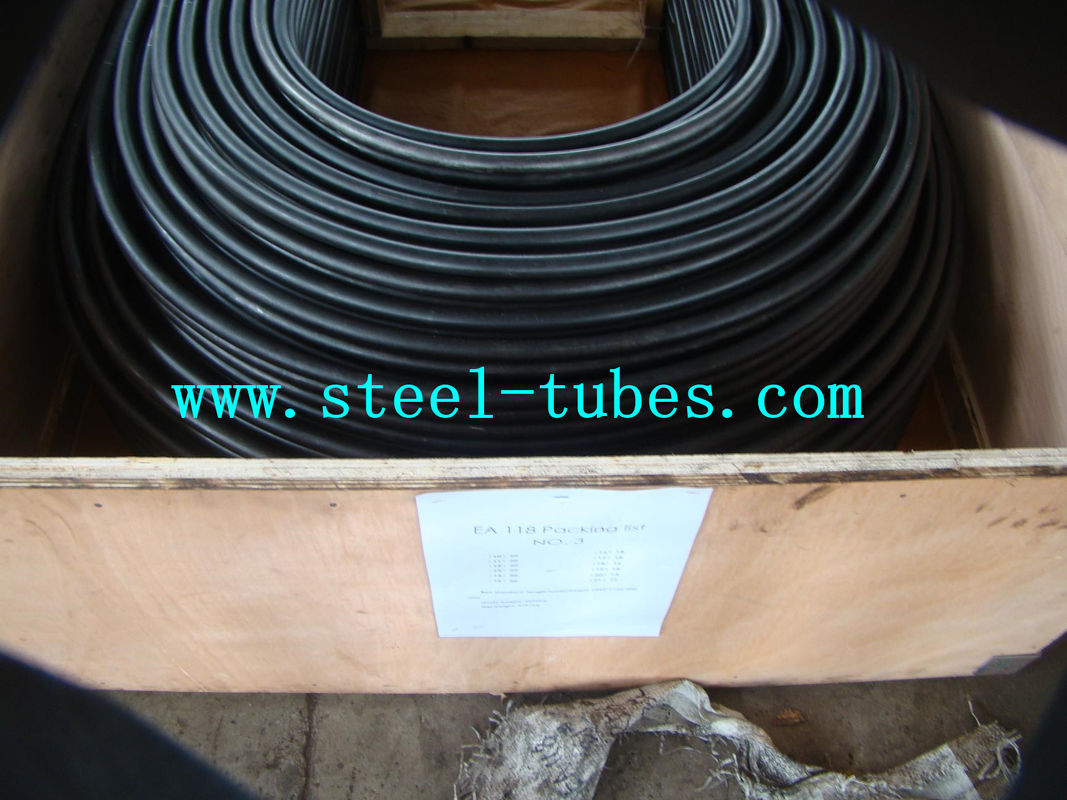
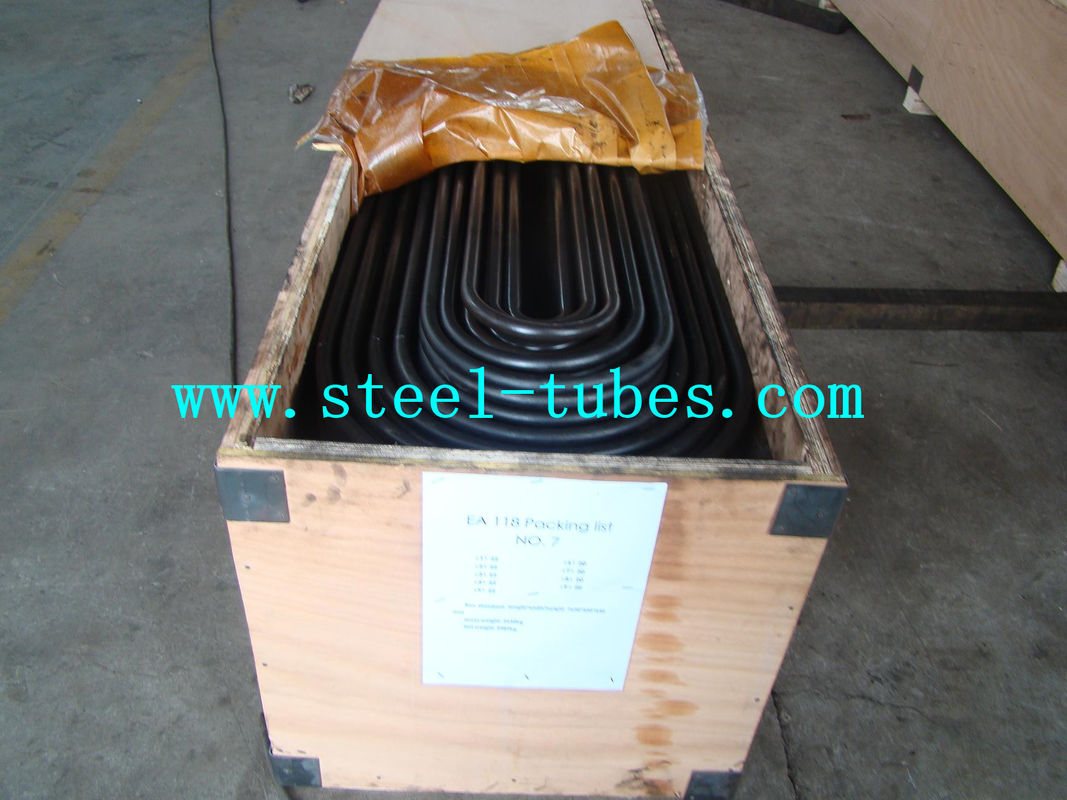
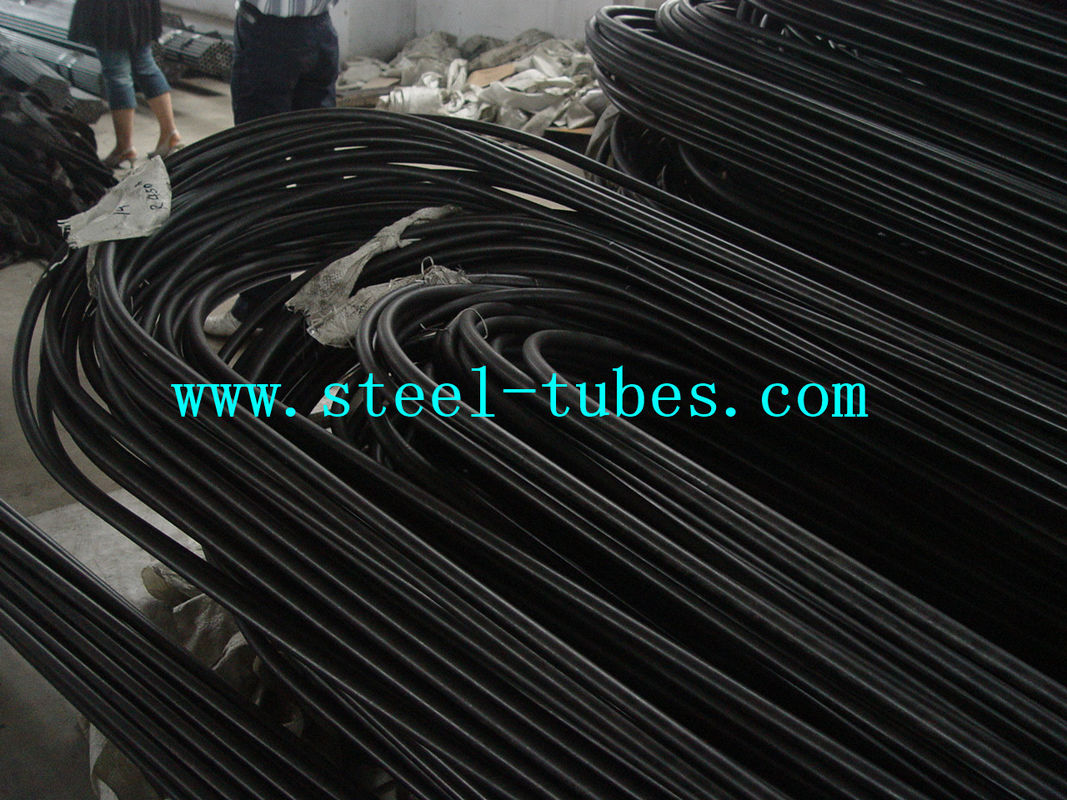
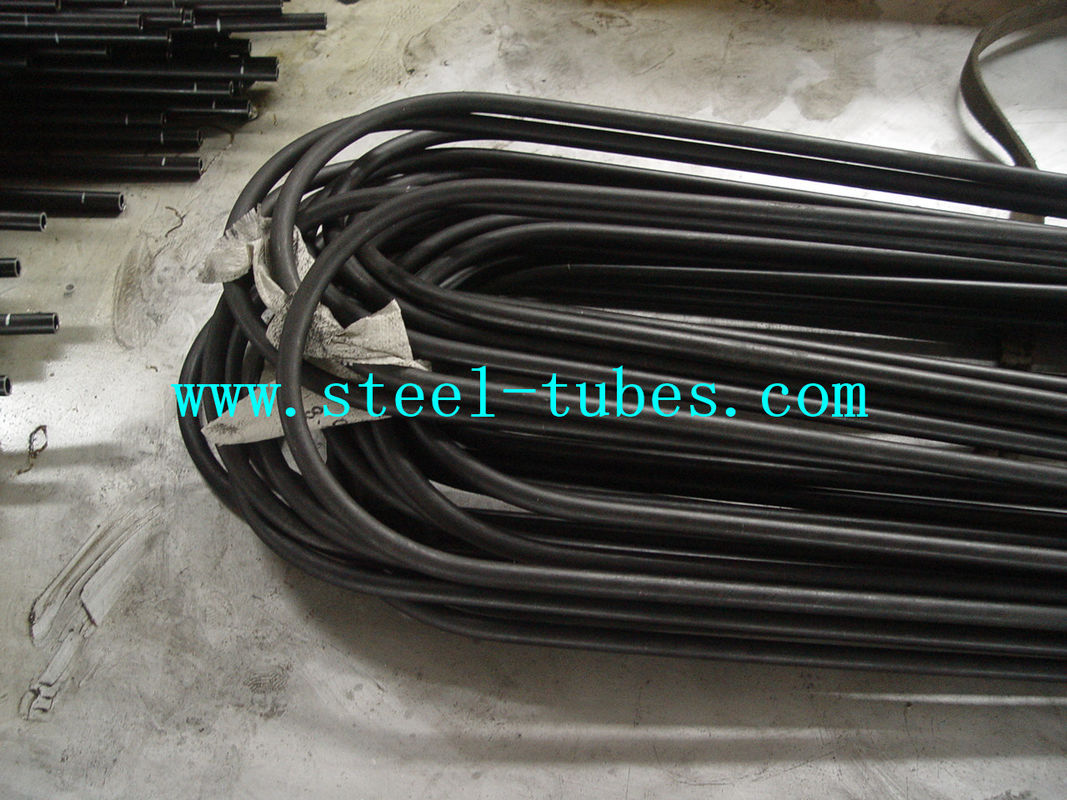
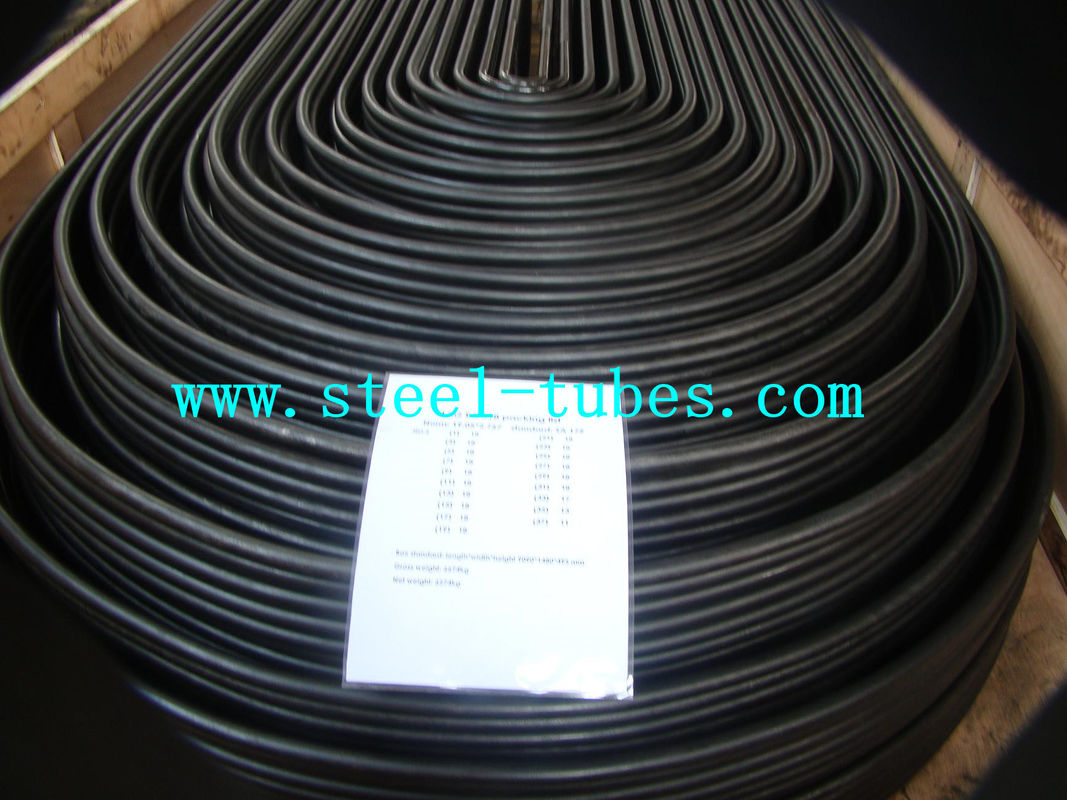
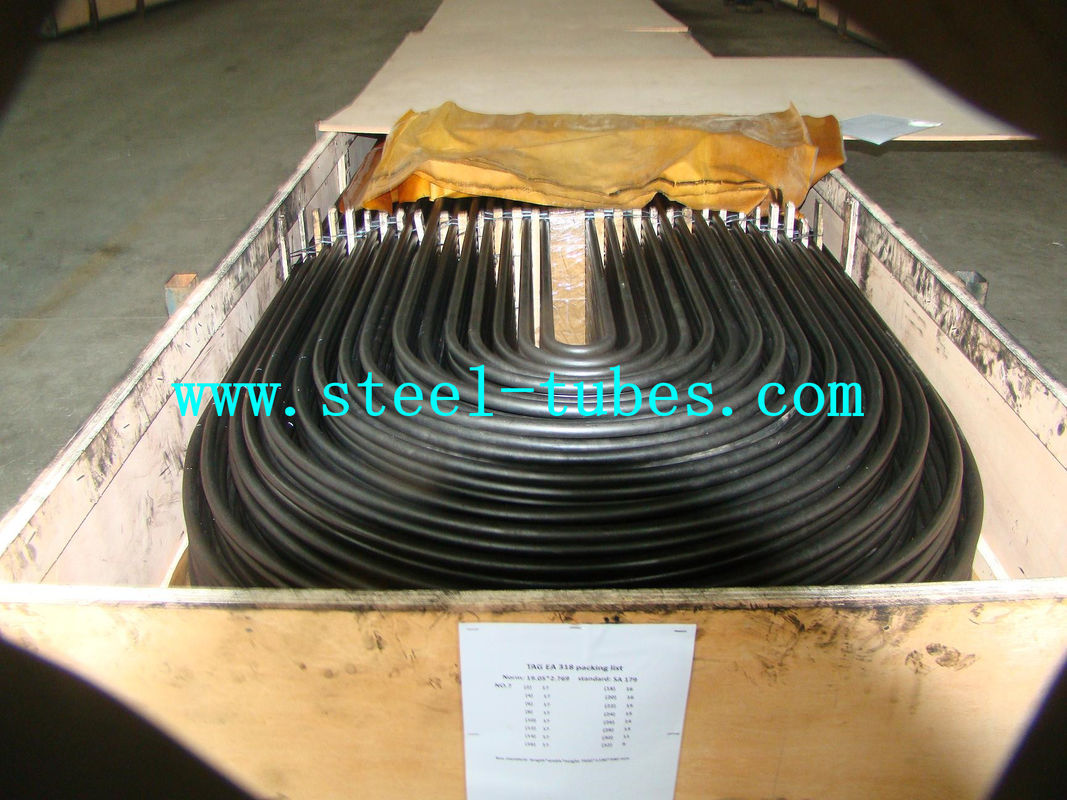
A 556 / 556M Cold Drawn Carbon Feedwater Heater Black Seamless Steel Pipe
1. Referenced Documents
1.1 ASTM Standards:
A 450/A 450M Specification for General Requirements for Carbon, Ferritic Alloy, and Austenitic Alloy Steel Tubes E 30 Test Methods for Chemical Analysis of Steel, Cast Iron, Open-Hearth Iron, and Wrought Iron
2. Manufacture
2.1 Manufacture—Tubes shall be made by the seamless process and shall be cold drawn.
2.2 Heat Treatment:
2.2.1 Cold-drawn tubes shall be heat treated after the final cold-draw pass at a temperature of 1200°[640°C] or higher to ensure ductility satisfactory for rolling into tube sheets and to meet mechanical properties as specified.
2.2.2 If stress-relief anneal of the U-bends is specified, the anneal shall consist of heating the bent portion within a range of 1100 to 1200°F [585 to 640°C].
3. Chemical Composition
3.1 The steel shall conform to one of the requirements as to chemical composition as prescribed in Table 1. 3.2 When a grade is ordered under this specification, supplying an alloy grade that specifically requires the addition of any element other than those listed for the ordered grade in
TABLE 1 Chemical Requirements | Element | Composition, % |
| | Grade A2 | Grade B2 | Grade c2 |
| Carbon, max | 0.18 | 0.27 | 0.3 |
| Manganese | 0.27-0.63 | 0.29-0.93 | 0.29-1.06 |
| Phosphorus | 0.035 | 0.035 | 0.035 |
| Sulfur, max | 0.035 | 0.035 | 0.035 |
| Silicon, min | ... | 0.10 | 0.10 |
4. Permissible Variations in Dimensions (Fig. 1)
4.1 Permissible variations from the specified outside diametershall not exceed 0.004 in. [0.10 mm] for tubing under1.0-in. [25.4-mm] outside diameter nor 0.006 in. [0.15 mm]for tubing 1.0 in. [25.4 mm] to 1.25 in. [31.7 mm] inclusive.These tolerances do not apply to the bent portion of theU-tubes. At the bent portion of a U-tube for R = 2 D orgreater neither the major nor minor diameter of tube shalldeviate from nominal by more than 10 %. If 1 ⁄ D is specified,tolerances could be greater.
4.2 Permissible variations from the specified minimum wallthickness shall not exceed +20 % or −0. The wall thickness of
TABLE 2 Tensile Requirements | | Grade A2 | Grade B2 | Grade C2 |
| Tensile strength, min, ksi [MPa] | 47[320] | 60[410] | 70[480] |
| Yield strength, min, ksi [MPa] | 26[180] | 37[260] | 40[280] |
Elongation in 2 in. or 50 mm,
min, % (longitudinal) | 35 | 30 | 30 |
TABLE 3 Hardness Requirements | Grade A2 | HR B 72 |
| Grade B2 | HR B 79 |
| Grade C2 | HR B 89 |
the tube in U-bent section shall be not less than valuedetermined by:
tf T 2R / 2R D (1)
where:
t = wall thickness after bending, in. [mm],
T = specified minimum tube wall thickness, in. [mm],
R = centerline bend radius, in. [mm], and
D = nominal outside tube diameter, in. [mm].


QUALITY CONTROL
1~ Incoming Raw Material Inspection
2~ Raw Material Segregation to avoid steel grade mix-up
3~ Heating and Hammering End for Cold Drawing
4~ Cold Drawing and Cold Rolling, on line inspection
5~ Heat Treatment, +A, +SRA, +LC, +N, Q+T
6~ Straightening-Cutting to specified length-Finished Measuring Inspection
7~ Machanical Testing in own labs with Tensile Strength, Yield Strength, Elongation, Hardness, Impact, Mictrostruture etc
8~ Packing and Stocking.
100% of our steel tubes are dimensionally checked
100% of our steel tubes are visually checked to assure they have a perfect surface condition and no surface defects.
100% eddy current test and ultrosonic test to eliminate longitudinal and transversal defects.

 Your message must be between 20-3,000 characters!
 Please check your E-mail!
  Your message must be between 20-3,000 characters!
 Please check your E-mail!
